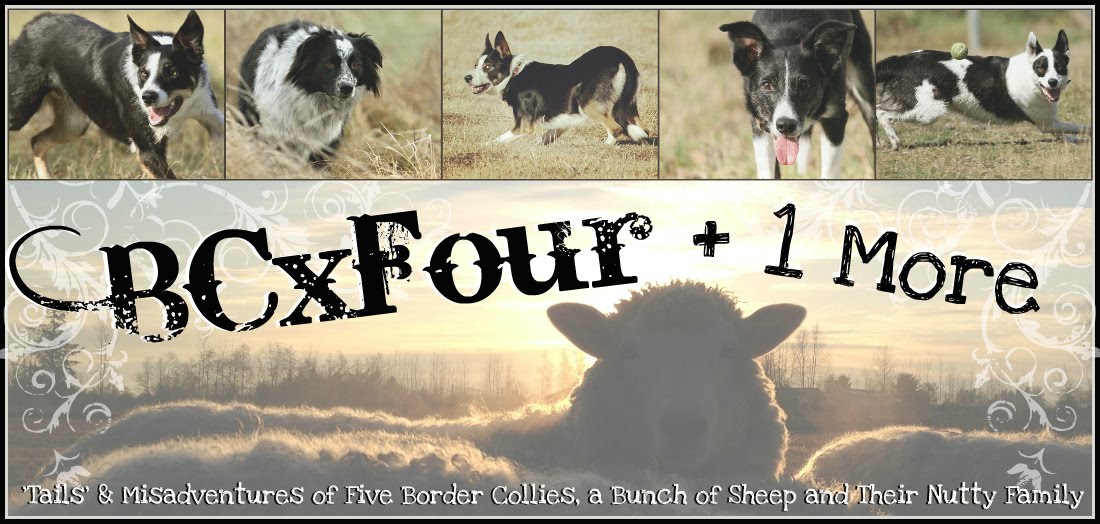
I have received oodles of emails asking me for advice and tips on capturing images of dogs it seemed time to share a few things I have learned the last few years. This is the first in a series of posts.
I am not a technical writer, nor do I claim to be an expert. Only a self taught camera nerd. I write as I think, which might contain bizarre grammar and other nonsensical things. If your brain shuts down with photography related things - stop reading now.
For those of you who are ready to take your photography to the next level...read on.
Type of Camera
Many of the tips covered will be useful for point & shoot cameras, however the majority will be directed for those who have a digital SLR, or a camera that allows you to easily change the settings. You can use a point & shoot camera to get great shots, but it does place you at a disadvantage because you cannot easily control your depth of field (f-stop or aperture), nor the shutter speed (allowing you to stop action).
Before I get into covering things such as exposure triangle, depth of field, aperture/f-stop, shutter/exposure and other frequently used terms - it won't help you if you do not know how to use the manual settings and functions on your camera.
So we begin with:
Know Thy Camera
Regardless if you shoot with Canon, Nikon, Leica or any other brand, the single most important thing you can do to advance your photography skills is to become intimately familiar with your camera.
How are you going to do that? Well, get out your manual, open it up....and
read it. There is no substitute for reading the manual. Trust me. I know it can be a boring snooze fest, but JUST DO IT!
Usually there are a couple of presets that you can use which will allow you to adjust just one aspect of the exposure triangle (aperture, shutter (exposure) and ISO) such as:
Here are a few things that are essential to look up in your manual and practice.
Next, if you have detachable lenses get them all out in front of you, grab a piece of paper and make a list.
For example: My favorite lens is: Canon EF 100-400mm f/4.5-5.6L IS
Translation:
GOING MANUAL
Now that you have learned all about your camera by reading your manual I dare you to switch the button over to 'M'.
Do it...I promise you camera won't explode.
Go outside, sit in the park or your back yard. Make sure your camera is set to Manual and start shooting. Don't worry, you won't wear it out. It isn't like you are burning through a bunch of film. Just shoot, practice and learn.
HOMEWORK
Pick out one stationary thing to shoot - outside on a cloudy or sunny day - set your camera to Manual - then do the following. (print this and take it with you)
Let me know if you have any questions - email me at bcxfour at yahoo dot com. Also if I have made any mistakes or you see something in this post that is screwy or needs correcting, leave a comment and I will fix it asap. My proof reading skills are less than stellar. :)
Tip #2 the Understanding the Exposure Triangle - coming soon
I am not a technical writer, nor do I claim to be an expert. Only a self taught camera nerd. I write as I think, which might contain bizarre grammar and other nonsensical things. If your brain shuts down with photography related things - stop reading now.
For those of you who are ready to take your photography to the next level...read on.
Type of Camera
Many of the tips covered will be useful for point & shoot cameras, however the majority will be directed for those who have a digital SLR, or a camera that allows you to easily change the settings. You can use a point & shoot camera to get great shots, but it does place you at a disadvantage because you cannot easily control your depth of field (f-stop or aperture), nor the shutter speed (allowing you to stop action).
Before I get into covering things such as exposure triangle, depth of field, aperture/f-stop, shutter/exposure and other frequently used terms - it won't help you if you do not know how to use the manual settings and functions on your camera.
So we begin with:
Know Thy Camera
Regardless if you shoot with Canon, Nikon, Leica or any other brand, the single most important thing you can do to advance your photography skills is to become intimately familiar with your camera.
How are you going to do that? Well, get out your manual, open it up....and
read it. There is no substitute for reading the manual. Trust me. I know it can be a boring snooze fest, but JUST DO IT!
Usually there are a couple of presets that you can use which will allow you to adjust just one aspect of the exposure triangle (aperture, shutter (exposure) and ISO) such as:
- TV (allows you to set your shutter speed/exposure and the camera will do the rest)
- AE (allows you to set the Aperture/F-stop and the camera will do the rest)
Here are a few things that are essential to look up in your manual and practice.
- Where is the button/dial to adjust your f-stop (aperture). What is your minimum aperture? Maximum aperture?
- Where is the button/dial to adjust your shutter speed (exposure). What is the highest shutter speed?
- How can you adjust your ISO setting? How high can your ISO setting go?
- How can you adjust your white balance? Find it and learn it.
- Learn how to adjust the file sizes so you do not fill up your memory cards so fast. Unless you are serious photographer or Photoshop guru, there is no need to shoot in RAW & JPG together. I usually only shoot in the second to the largest file size. Anything more than that is overkill unless you are shooting a professional photo shoot.
- See if you have the ability to shoot rapidly (frames per second) and how can you adjust that?
- Do you have auto focus points? How many do you have? Are they adjustable? How do you move your focus point around in the view finder?
- Do you have a grid in the view finder? Read your manual and figure out how you can see that.
- Find the histogram. Learn how to look up the histogram for each shot you have taken (we will talk more about the histogram later).
Next, if you have detachable lenses get them all out in front of you, grab a piece of paper and make a list.
- What is the largest (lowest number) F-stop (aperture) on each lens
- What is the focal length?
For example: My favorite lens is: Canon EF 100-400mm f/4.5-5.6L IS
Translation:
We will get to why the aperture on your lens is important later, for now you just need to familiarize yourself with the lens capabilities.
- The lens is manufactured by Canon
- The focal range is 100-400 mm (good for long distances)
- The largest (lowest number) f-stop is 4.5 at 100mm and 5.6 at 400mm (need relatively good lighting conditions to get the best results with this lens) the L just means it is an 'L' series lens.
- The IS at the end means the lens has "Image Stabilization"
GOING MANUAL
Now that you have learned all about your camera by reading your manual I dare you to switch the button over to 'M'.
Do it...I promise you camera won't explode.
Go outside, sit in the park or your back yard. Make sure your camera is set to Manual and start shooting. Don't worry, you won't wear it out. It isn't like you are burning through a bunch of film. Just shoot, practice and learn.
HOMEWORK
Pick out one stationary thing to shoot - outside on a cloudy or sunny day - set your camera to Manual - then do the following. (print this and take it with you)
1. Set your aperture/f-stop to f5.6, Shutter/Exposure 400, ISO 200.
a. Look through your view finder. Do you see a little meter at the bottom? That is your built in exposure meter guide. It might look similar to this.
b. Keeping your eye on that meter point the camera at different things, such as the grass, sky or concrete - does it change the position of that line? The goal is to keep that little line in the middle of that meter by changing the settings on your camera - that means your images are usually nicely exposed given your current lighting conditions. The trick is to learn how to change your shutter speed and aperture without taking your eyes off the view finder.
2. Next with each shot change your f-stop one click, go the entire range available on your camera & lens - learn to change your f-stop without taking your eye off the view finder.
a. As you are shooting, pay attention to what happens to each shot - are they lighter or darker? Are things in the foreground or back ground becoming blurry/out of focus?
b. As you change your f-stop, what is happening to the meter?
3. Next set your camera back to f/5.6 and change your shutter speed with each shot, without taking your eye off the view finder - watch the meter.
a. What happens to each picture as you change the shutter speed? Are they getting lighter (over exposed) or darker (under exposed)?
4. Set your camera to back f/5.6 and shutter 400 and change your ISO...watch the meter.
a. Make note of which pictures you shot on a higher ISO, when you upload them to your computer do you notice anything? Look for the grain in the shots - that is 'noise'.
5. Finally adjust your f-stop, shutter and ISO to a spot that allows the graph in the view finder to stay in the middle and begin to change your white balance setting.
a. Shoot a picture on each white balance setting, then print it out, mark on each shot what the setting was. Make note of the differences.
Let me know if you have any questions - email me at bcxfour at yahoo dot com. Also if I have made any mistakes or you see something in this post that is screwy or needs correcting, leave a comment and I will fix it asap. My proof reading skills are less than stellar. :)
Tip #2 the Understanding the Exposure Triangle - coming soon


9 comments:
I have a DSLR that I have fiddled with, taken courses but just never caught on. After reading back into your blog and seeing how your pics have evolved it inspired me to try to understand this camera thing once again. Thanks so much for this tutorial!!
What a great series! I am really looking forward to reading more posts. You take some wonderful pictures! I have a Nikon DSLR and I am just now, 3 yrs after I received it, learning to use it in manual mode.
Thanks for this. My daughter and I are both thinking of moving up to a DSLR, so this will be great.
awesome post! im looking at doing a upgrade to a DSLR and you pointed out some great facts! i look forward to more post of the tip series!
Woohoo! You're officially my favorite blog. Lol :)
Have Nikon D300s. Adore 70-200 f2.8 but haven't purchased, just rented for horses hows I Shot professionally. Still fighting the autofocus points on the D300s because...well, I'm not sure why but I can't seem to get the knack of making to focus where *I* want it to, especially in jumping shots. Mostly in jumping sthots.
Know squat about the histogram. Can't wait til you cover that!
And I don't think my camera has that exposure meter in the viewfinder. Must find way to make it show up. That would be far more handy that flipping to shutter priority when I'm outside (unles it's nice and uniformly overcast. lol). Although the camera does a decent job of picking its own aperture... but still...
I'm excited :) Looking forward to the next post!!
L&L
This is wonderful and thank you so much for explaining things so clearly! Now I must go find my manual and read it :)I look forward to tutorial #2!
Nice tutorial!!
This is SOOOOO nice of you to do! Mom just has a point and shoot now but this is so interesting to learn! Mom can always come back to your posts later when she has a snazzier camera and refresh her memory :D Thanks!
Waggin at ya,
Roo
This is some great information! While I don't have a DSLR and shoot in film, it's still very useful. I plan on getting a DSLR eventually but film is my thing right now.
I've currently got two functional Minolta 35mm cameras. One is going on 40 years old and is completely manual and the other is from 1999 and has automatic settings. I've never used it and I find the "ease" of automatic stuff to be quite annoying most of the time. (I really hate my point-and-shoot digital because of this.) I'd still like to fiddle with the newer one and see if it can get better shots than my manual one though, especially since it uses auto focus for action shots.
Post a Comment